Jenkins, a well-known open source web application or say web platform that is used to orchestrate jobs. I visualize this tool as something equivalent to a Windows scheduler that allows you to schedule activities on a defined time frame. This platform has become so popular in the last few years that is being leveraged in various areas today-
- Set up jobs for building continuous integration pipeline, calling application build tools, static code analysis tools, UAT tools, etc
- Integrate with Cloud native tools on Azure, AWS, etc
- Orchestrate infrastructure as a code (IaaC) through tools like Puppet, Ansible, etc
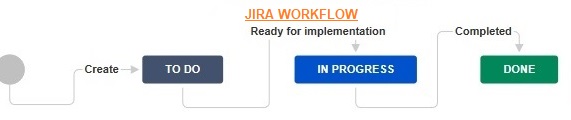
- Integrate with ITSM tools like ServiceNow, Jira, etc to extend delivery pipeline functionalities
I thought to share my experiences on this tool through a series of chapters starting with its installation process. So, lets get started with Jenkins v2.x!!
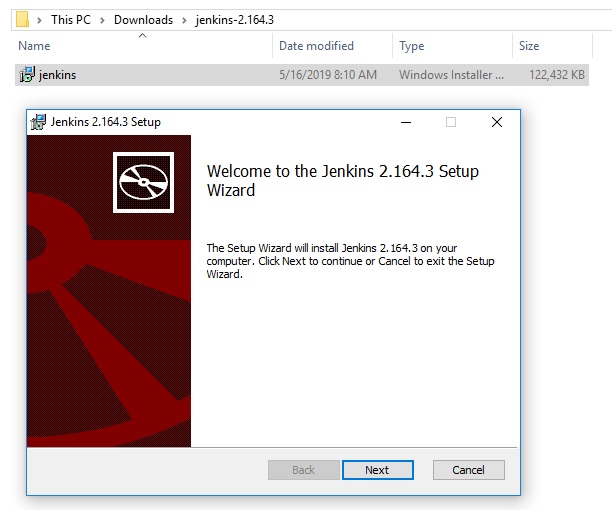
Step 1 –> Download the latest Jenkins installer from https://jenkins.io/download/
Step 2 -> – Unzip the content and open the installer
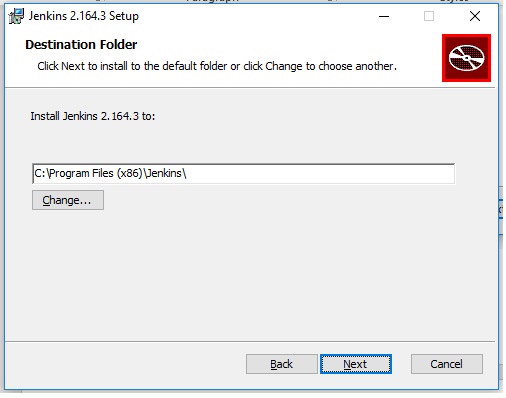
Step 3 –> Mention the directory to save the files
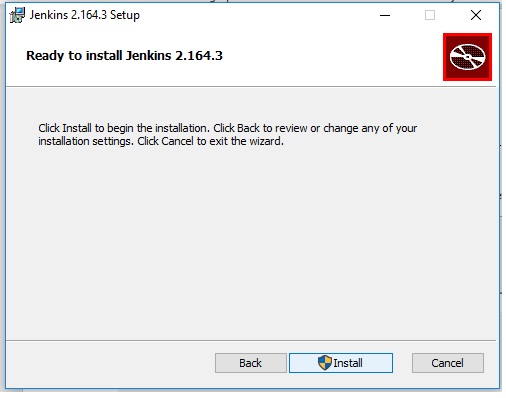
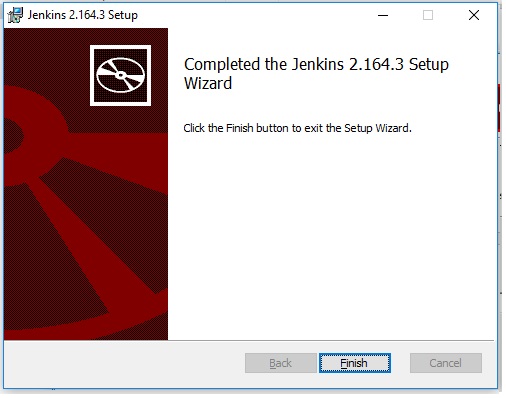
Step 4 –> Initiate the installation

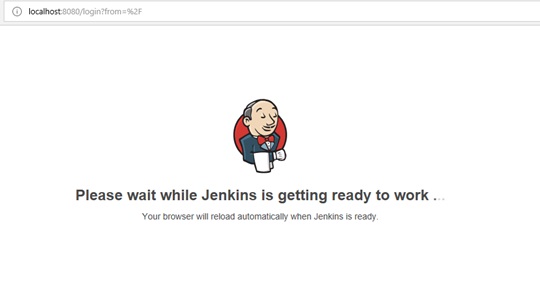
Step 5 –> Post installation, the setup will open a browser as shown below –
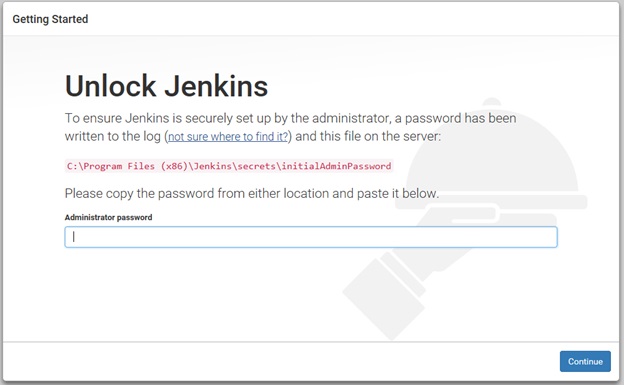
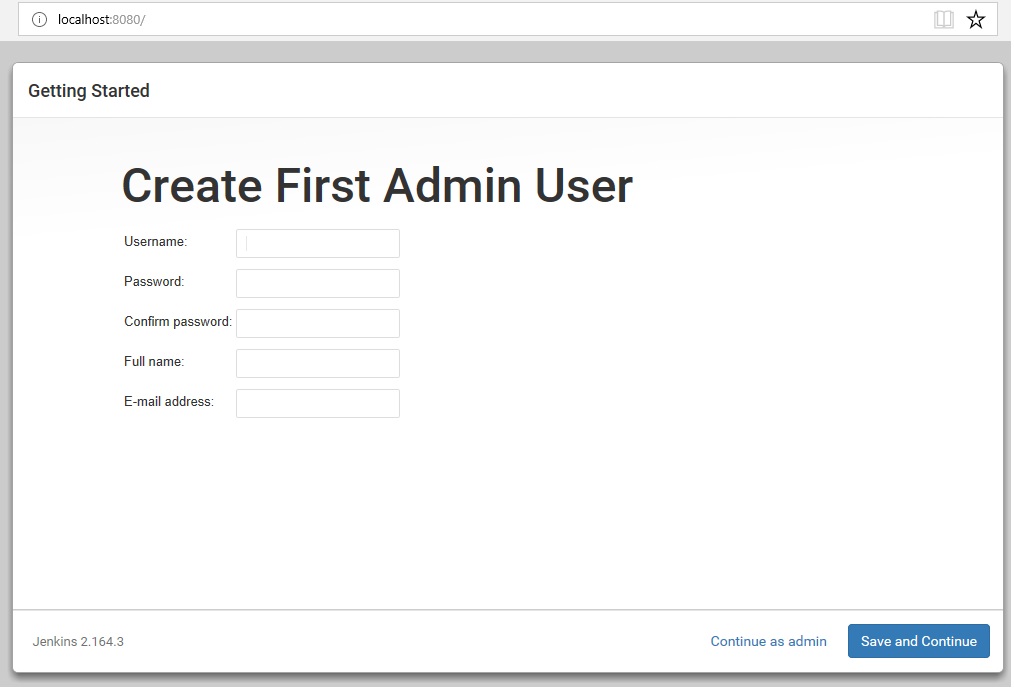
Step 6 –> After few minutes, the installer will prompt for an admin password – access the “../Jenkins/secrets/initialAdminPassword” file and copy paste the password inside this file in the screen below-
After successful admin access, the installer will prompt for the type of installation to be done-
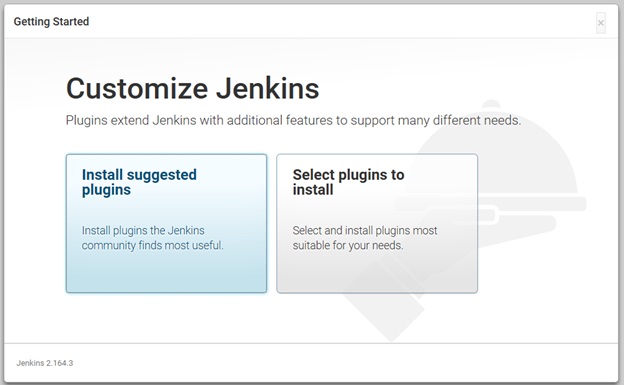
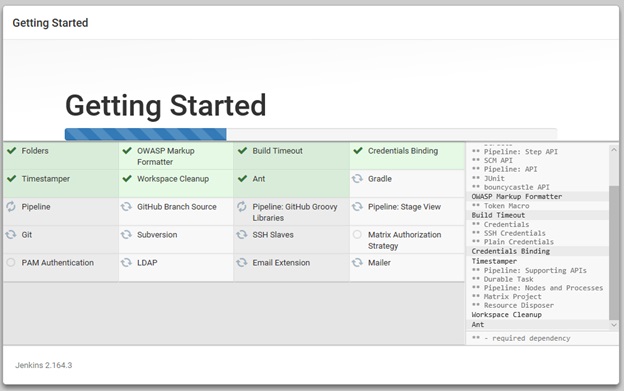
For our first chapter, am choosing the “Install suggested plugins” option..
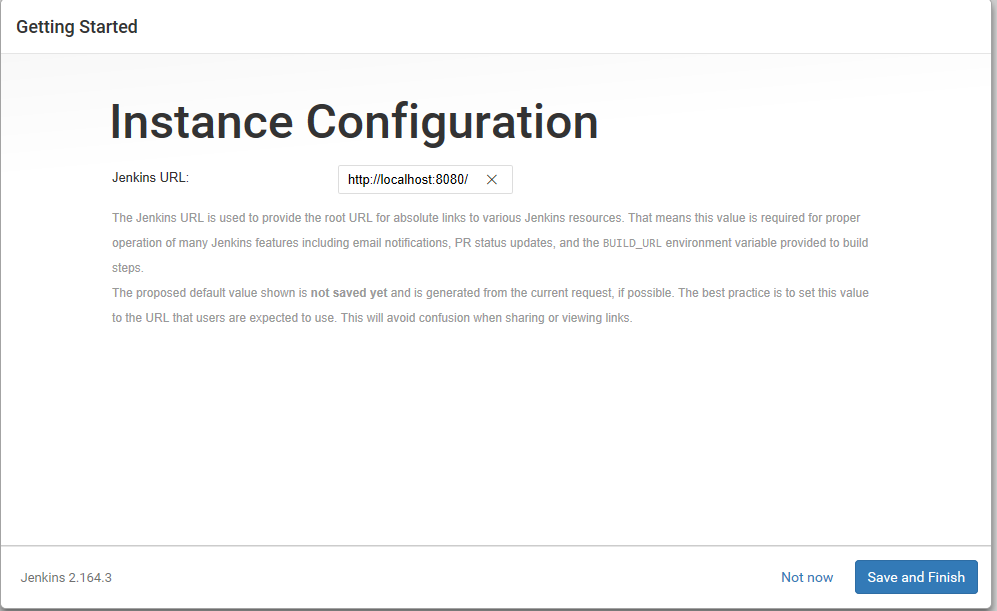
Confirm the URL and Finish the setup..
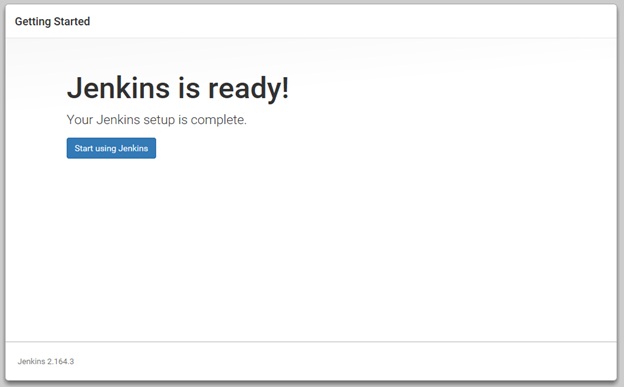
Step 7 –> Access Jenkins and start off… preparing on your first pipeline!!

Hope you liked this first chapter on installing Jenkins, look forward for upcoming chapters on using Jenkins !!