A quick look at how to dockerize Java applications on Windows OS.
Pre-requisite – Docker Toolbox to be installed on Windows
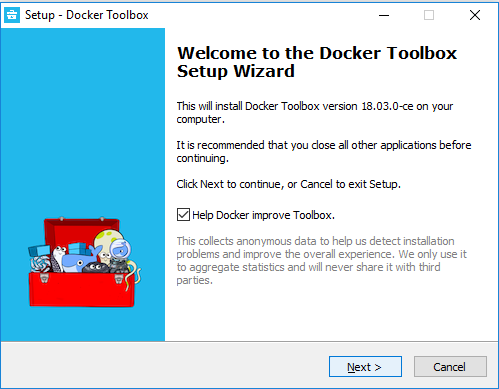
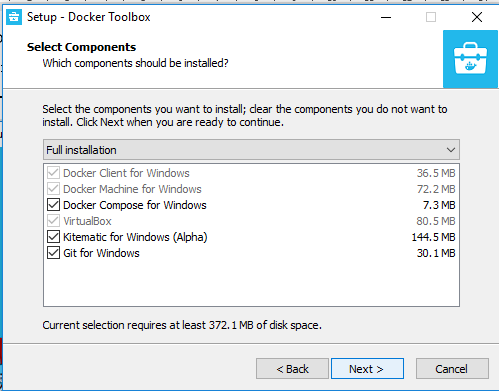
Step 1 -> Download and install ‘Docker Toolbox’ – https://docs.docker.com/toolbox/toolbox_install_windows/
Step 2-> Post installation, open ‘Docker Quickstart Terminal’
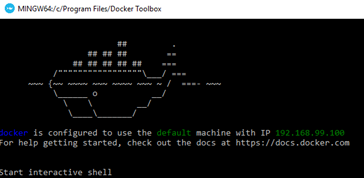
Note-if you get an error while starting this terminal then this indicates that the ‘virtualization mode’ on your PC has not been enabled. To resolve this issue, enter the BIOS mode (when you start your machine) and enable the ‘virtualization mode’ option
Step 3 -> You can now create, run docker commands for example-
$ docker –version => view docker version

$ docker images => displays current images on your PC, currently there are no images, so you will not find any image details

$ docker ps – a => displays all containers, currently there are no containers

SNow we are ready with Docker …. lets get started now to dockerize our local Java application.
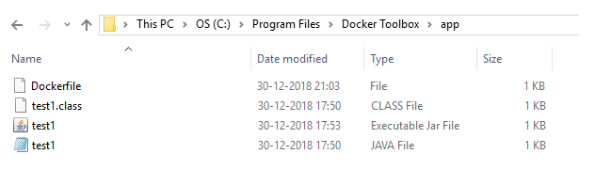
Step I -> Create a simple Java application in Eclipse IDE (I used Indigo version) and call it “test1.java”. Let this application display a message like “Welcome, this is my first program”. Run & Export this as a jar file that includes the manifest “test1.jar”
Step II -> Create a folder called “app” under the Docker installation directory and paste the java artifacts.
Step III -> Create a DOCKERFILE – the most important element to dockerize and this is the engine that will create the images
FROM java:8
WORKDIR /
ADD test1.jar test1.jar
EXPOSE 8080
CMD java -jar test1.jar
The folder will comprise of the following structure-
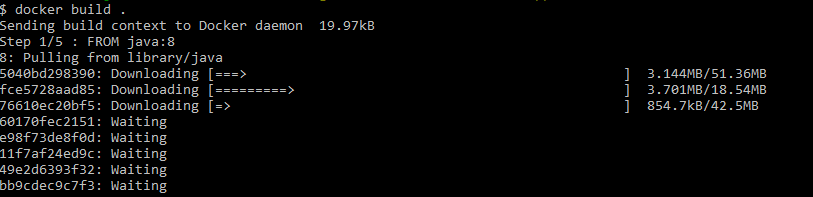
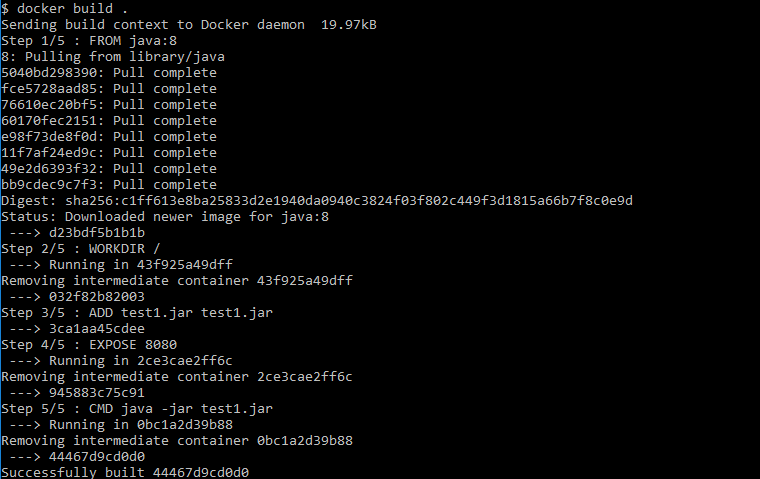
Step IV -> Switch to the Docker CLI – Docker Quick Start Terminal and type in the following command to create a new image
$ docker build .
This will execute the DOCKERFILE that will download JAVA version 8 then consider the current working directory to execute, add the jar file, expose the port number 8080 and then finally run the java application.
Let us name this image as ‘javacontainer’,run the following command-
$ docker tag 44467dcd0d0 javacontainer
This will rename the image, now run the command to check for images
$ docker images

Step V-> Let us now create a container and run this java application, we will run the following command-
$ docker run javacontainer
This will create a container and then run the java program-

Here you go … you have a running container now that runs the Java application. Wasn’t this easy 🙂
That’s a great post on implementation of docker on windows. It’s a basic block of docker Lifecycle from building image to run a container. Along with this you can share your docker Image with Dockerhub which is a public repository. We hope to see your next post soon.