In our last chapter, we talked about the process of installing Jenkins on a system. This chapter focuses on the next steps which includes – user creation, installing authorization plugin and configuring users based on their role. Lets get started !!
Section I -> Creating Users
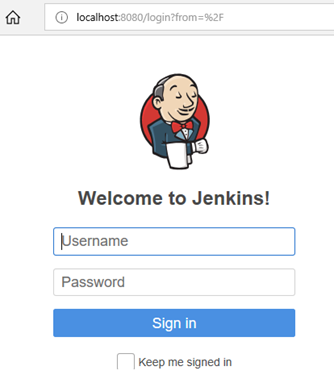
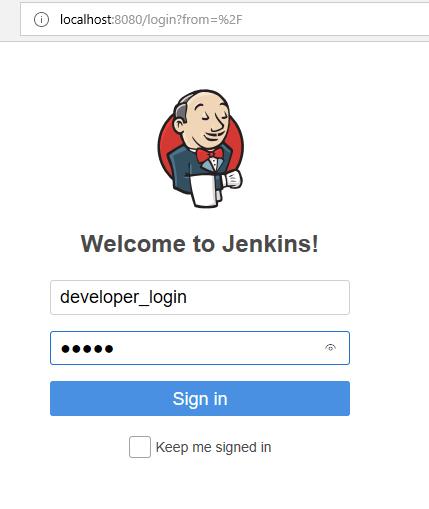
SStep 1 -> Log into Jenkins (remember we created our first admin user when we are finishing with our installation steps (Refer Chapter 1)
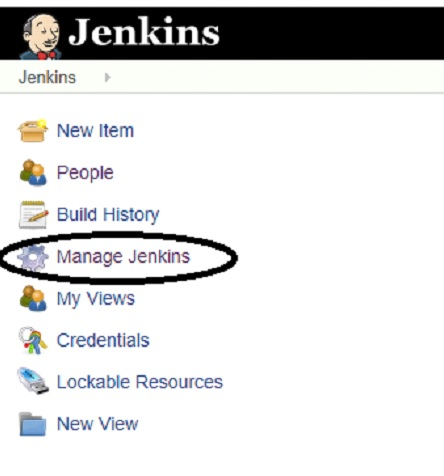
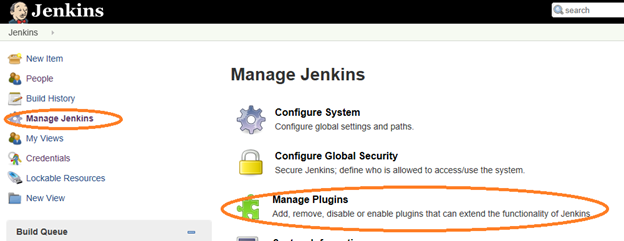
Step2 -> Post successful login, click on the “Manage Jenkins” option
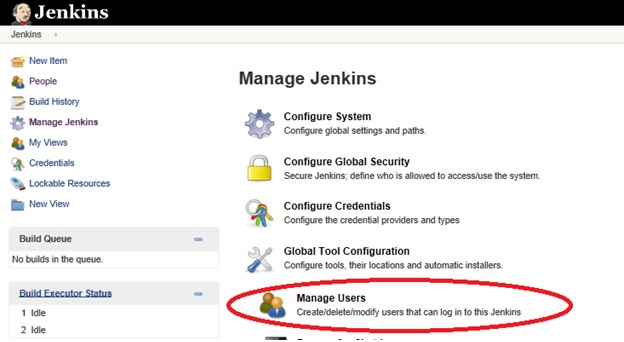
Step 3 -> You will get to see a number of options on the right panel, click on “Manage Users” option
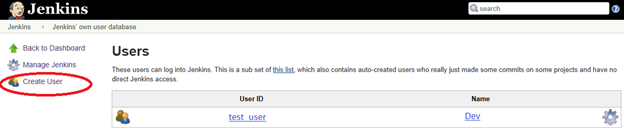
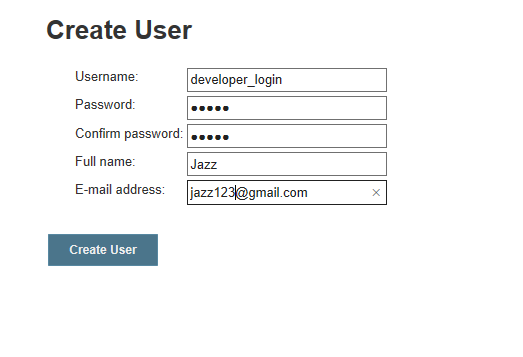
Step 4 -> You will be able to see the first User ID and Name on the right panel. From the left panel, click on the link “Create User”
Step 6 -> You can log out from this user session and re-login with the new username and password that you created in Step 5
Simple isn’t it 😊
Follow the steps 1 to 5 to create users for your team. As a next step, not all users will be required to access all the features in Jenkins, right? This is where we need to define role-based authentication. To implement this concept, you need to follow the steps below.
Section II-> Installing Role based Authorization Plugin
Step a -> Click on “Manage Jenkins” option from left panel and select the option “Manage Plugins” option visible in right panel
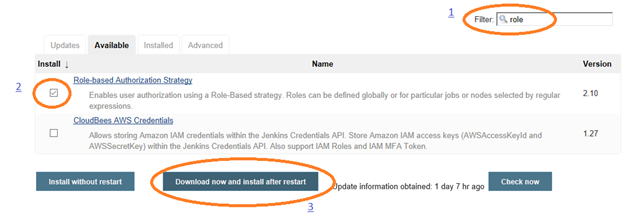
Step b -> You will view four tabs on the right panel, click on the tab labelled “Available” and try searching for “role”. By default, this plugin is not installed with Jenkins, hence we need to install it, which is pretty easy. Select the plugin name from the filtered results – “Role based Authorization Strategy” and click on the button named “Download now and install after restart”
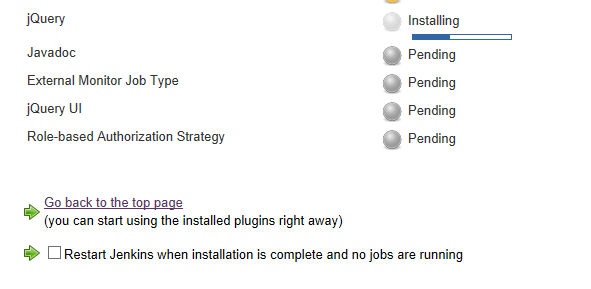
Step c -> You will be able to see the progress of this plugin. Ensure to select the checkbox named “Restart when installation is complete..”
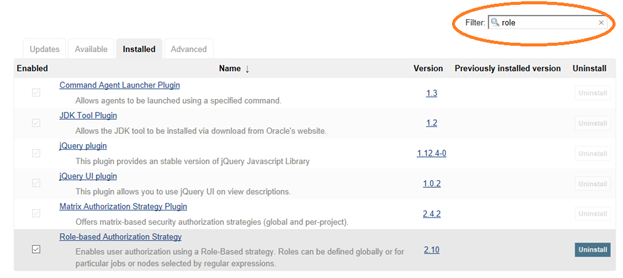
Step d -> Post restart, login into the tool again and confirm whether the plugin is installed. At this stage, click on “Manage Jenkins” menu on left panel and then click on “Manage Plugins” option and this time search for this plugin in the tab labelled “Installed”

So far, so good. The next step is to assign users to specific roles so that when they login into Jenkins, they are allowed to perform only the required functions.
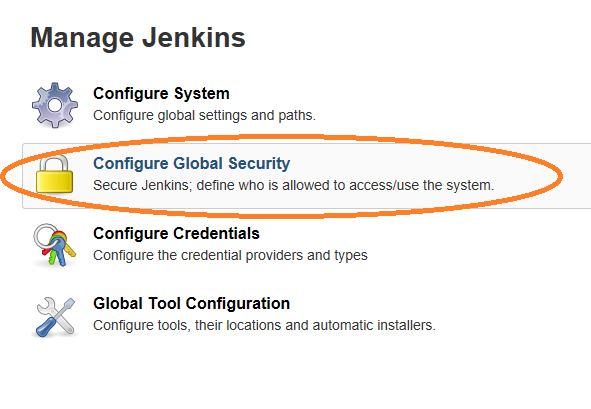
Section III -> Configure UsersStep i -> Open “Manage Jenkins” oiption and this time click on the option “Configure Global Security” option
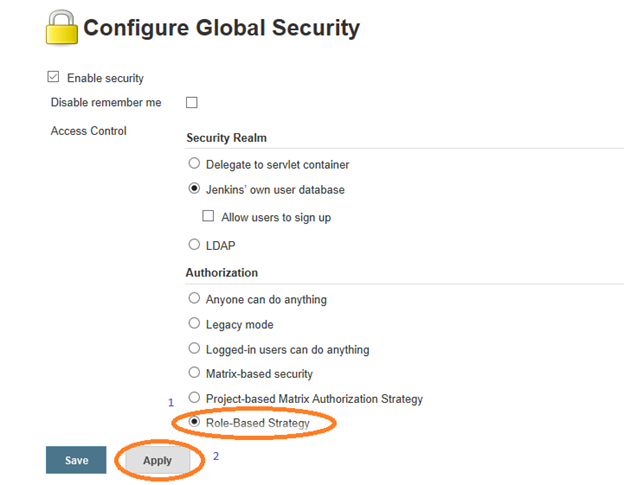
Step ii-> Since we installed the role based plugin, you will be able to view the radio option “Role based Strategy” that needs to be selected and click on “Apply” button
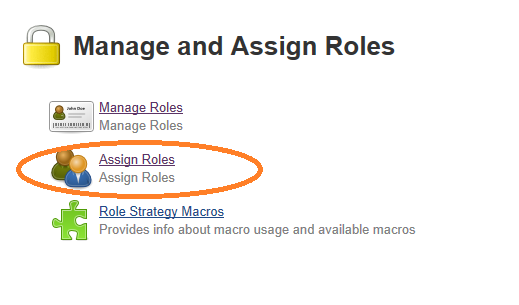
Step iii -> Go back to the “Manage Jenkins” option from left panel and select the option “Manage and Assign Roles” option
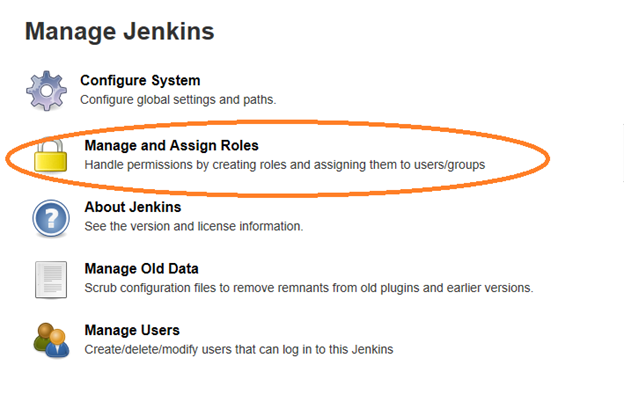
Step iv -> This section allows you to manage roles, assign roles and also define macros, interesting – isn’t it ??
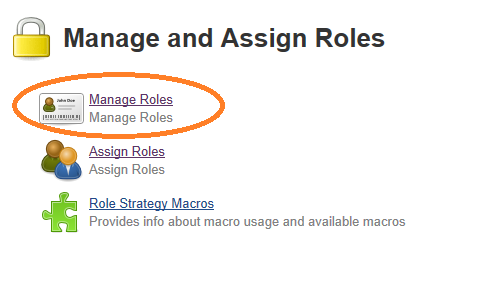
Let us click on the “Manage Roles” option to first define roles. By default, you will see the roles for “admin” user
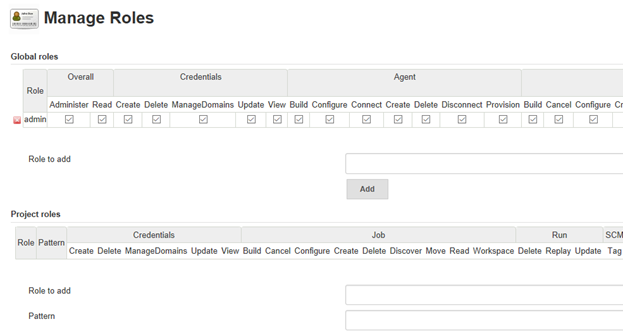
Lets create a new role for a “developer”…
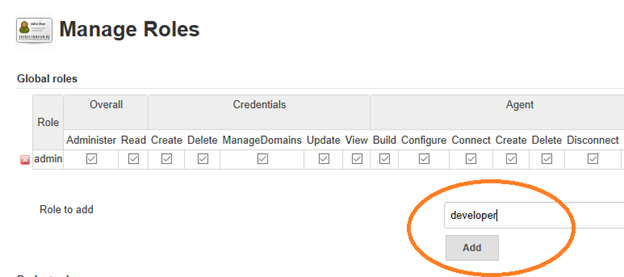
Now mention the activities that a user with this role is allowed to perform in Jenkins, for example I want my developer to be able to create and manage jobs … Click on the check boxes as required and click on the “Save” button at the bottom of this page mana
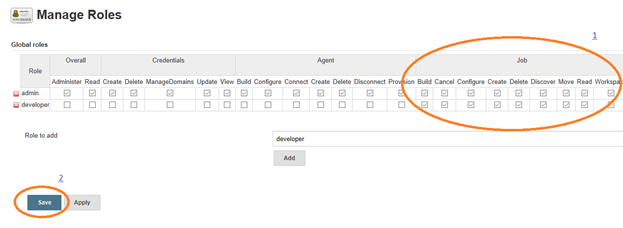
Create roles as required in your team and then Save. Now we need to assign these roles.
Step v -> Go back to the “Manage Jenkins” option and this time select the option “Assign Roles”
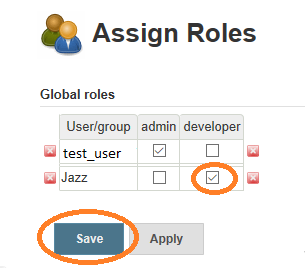
Step vi-> If you recall, we have two users in Jenkins – test_user (first user created while installing Jenkins) and developer_login user (created in this chapter). You will be able to view, add users and then select/deselect the roles against each of the usernames
Follow the above sections for creating users, creating roles and assigning them to the users. There are also options to create users that can access Master / Slave Jenkins node. Thinking about Master/Slave…. ? This is a Jenkins configuration adopted in organization to leverage this tool at an Enterprise level. It resembles the client-server architecture. Interested to know more about this, stay tuned for successive chapters …. Hope these chapters are helping you out 😊
Click here for Chapter 3 – Learn more about Jenkins Pipeline.

Very clear understanding article. Step by Step clarity.