While previous chapters focused on the Jira Basics, we now will get into some of the interesting and advanced concepts in Jira. Once a project is created and configured, we start creating issues in that project. There are various ways to create issues / bugs / tasks in a project –
1. Jira tool – we have the Create button option visible on the Project Dashboard menu
2. REST APIs – this allows us to create issues in Jira from outside the tool environment (will look at some of the APIs in successive chapters).
The volume of issues increases as the project progresses. To keep a track on the issue status and displaying the same on the dashboard, we will take help on JQL – Jira Query Language. A simple SQL based query language that helps users to retrieve information regarding the issues. Lets get started by creating some basic JQLs and then look at some advanced queries as well.
Step 1 -> Login into the JIRA and click on the Issues dropdown menu and select the option “SEARCH FOR ISSUES”-

Step 2 -> The search section opens up where you can search and save your query results. The default screen displays filtering options like project name, type of issues to be searched, status , etc. Let us try out a simple query wherein we would like to view ‘bugs’ that are in ‘to-do’ state. We will select the project name and select the options as shown below-
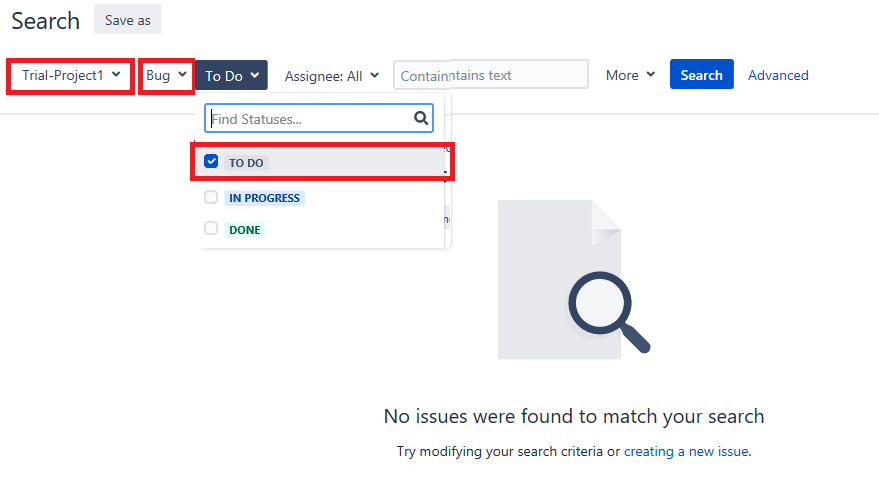
You can also mention Assignee name in case you are looking for issues assigned to a specific team member. Click on the SEARCH button and look for the results. The query displays the results which are not saved. If you want to save this query and display its results on the dashboard, then click on the SAVE AS button as shown below-

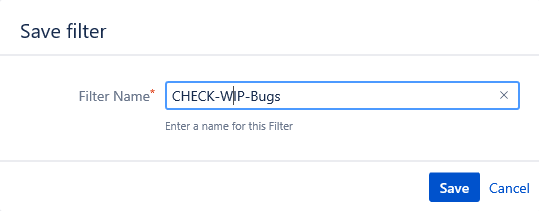
Saving Query Results in Jira
For our example, lets save this query as ‘Check-WIP-Bugs’, this indicates that the query fetches results for bugs that are in work in progress state.
The filter / query returns the number of bugs with details that belong to TRIAL-PROJECT and are in TO-DO state-

You can create as many queries as need be, but remember to SAVE them with easy to remember names.
The above example used filters to retrieve specific records, you can further detail your query by using expressions as well and write the query by yourself. To write a query, click on the ADVANCED button as shown below-

You will see the query that was generated for the above scenario- the syntax is simple to understand and this is referred as JQL – Jira Query Language.

Remember we had selected the project name, followed by the issue type that was to retrieve Bugs and then we had selected the status as To-Do, this was a basic JQL. You can update this query by using the appropriate connectors like AND / OR and then mention more details and this is termed as Advanced JQL.

Leverage Advanced JQL when you need to build structured queries that cannot be built with the Simple search option. This option allows you to mention special characters as well like you want to search for bugs that are assigned to members with the name starting with a specific letter or say the assignee field is empty-

Note– that when you write the JQL, the application does a syntax check and prompts you with the inputs as well. A green tick at the starting of the JQL indicates that the query is correct. In case there was a red cross at the beginning then it indicates that the query needs a revisit.
Save your queries to refer them as need be. In fact, it is recommended that the results of relevant queries should be projected to the dashboard as well in the gadgets (refer chapter 6) so that the entire team can refer to it instantly. We will look at how to configure these queries in the dashboard in our next chapter.
Happy Exploring – JQLs !!