If you have been working as a VSTS developer before, then adapting to Azure DevOps doesn’t take much time. But for the new beginners, the platform sounds a bit complex but not impossible to learn 🙂
While the last chapter just introduced the key offerings – Azure Repos, Pipelines, Releases, Boards and Test Plans – this chapter will focus on how to get started. The pre-requisite to learning Azure DevOps is to have access to “Azure Portal” that allows you to create an “Azure Organization” name – if not available/accessible then it must be created. Once an Organization is available, then various Azure Projects are created and managed under it and each has the offerings. In case you do not have an existing organization, then you can try the free trial version from Microsoft. The free version of course gives you all the access for creating and managing the organization.
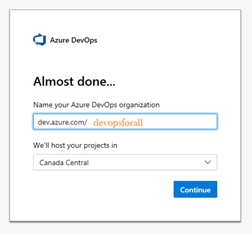
Step 1 -> Access to your Azure Portal and click on the link that says, ‘New Organization’. A window pops up asking for your Org name, as shown below. For this example, lets call it “devopsforall” –
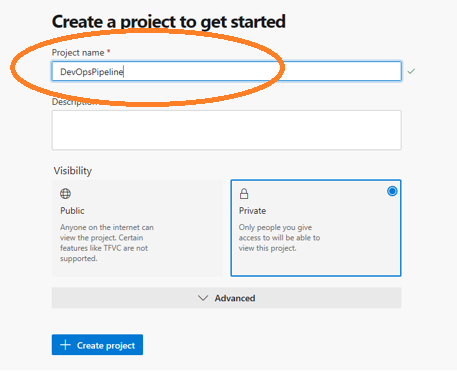
Step 2 -> Once the organization has been created, you can now create your first project. Look for the “New Project” option link on the Org page as shown below-

A window pops up, mention the Project name; lets name it “DevOpsPipeline”-
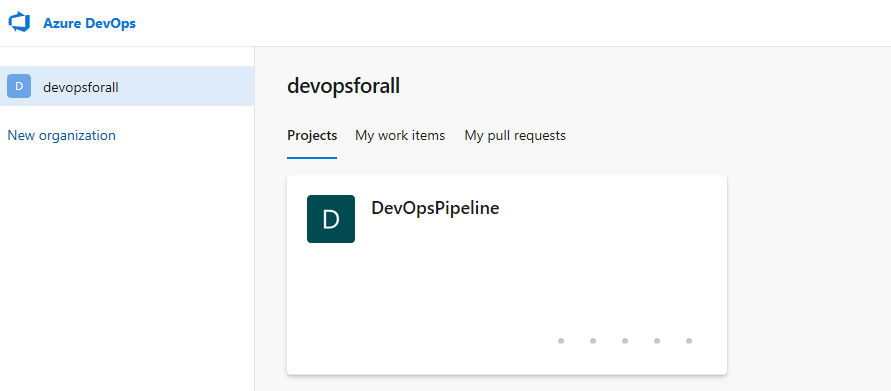
Step 3 -> Take a quick look at the newly create Organization (devopsforall) and the Project (DevOpsPipeline) as shown below-
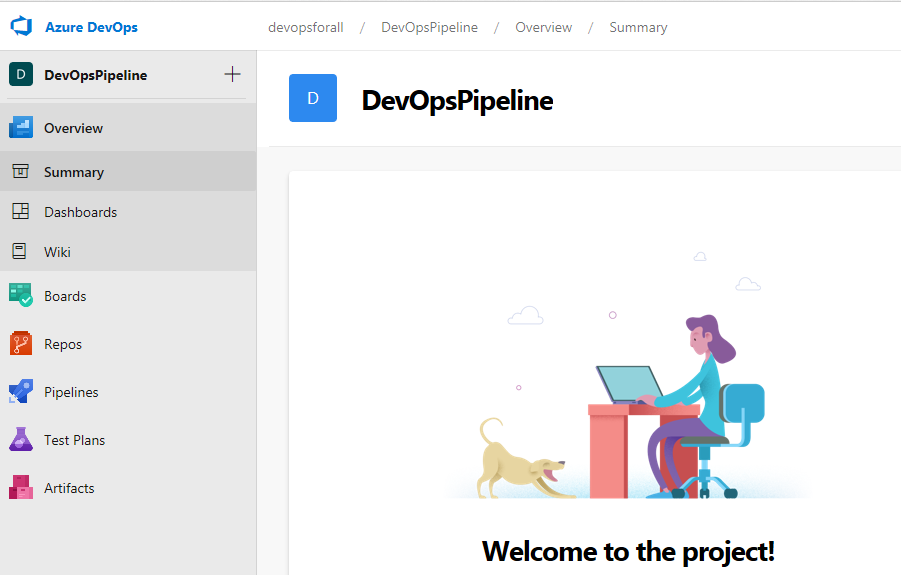
Click on the project name and check for the options that can be created inside a project as shown below-
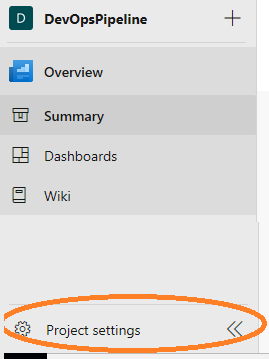
Before we start working on the Azure features, its important to configure the Project, this can be done by clicking the “PROJECT Settings” link that is visible on bottom left corner as shown below-
Leverage this link to create/update project related stuff (changes to project can be done at a later stage as well as need be) like creating a new template apart from the available templates like Epic, Task, Issue.

You can also create users and their access levels (like who gets read access only or complete access) as well as create a New Team (like one for Dev team, another for Testing and another for Ops) as shown below-

Once the project is configured, you can now get started. Take a while to view all the Azure options available on the left panel. Let’s scan through some of the key links that are often referred and used by product teams–
Azure Repos -> store files in Git repositories. You get options to import existing repository or clone a repository or push an existing repository from local to this location. Start by defining the project versioning structure, pull request workflows, approval gateways, etc.

Azure Boards -> design and track project work items. Once you start creating work items in the Backlog (these could be stories or bugs or features or tasks); you can track them here on Boards and create filters as well. Start creating your project requirements as work items and work with teams via Boards.

Azure Pipelines -> design and configure pipeline for orchestration like continuous integration and deployment. This section allows you to create and define environments and releases for implementing continuous delivery and deployments.

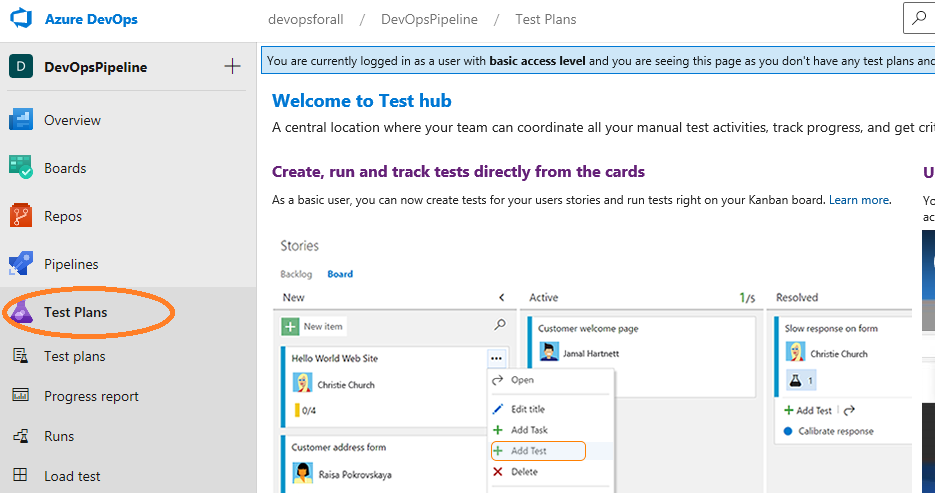
Azure Test Plans -> as work items get created, they need to be linked with test cases. This option enables developers and test engineers to create manual test plans, execute them and review the status.
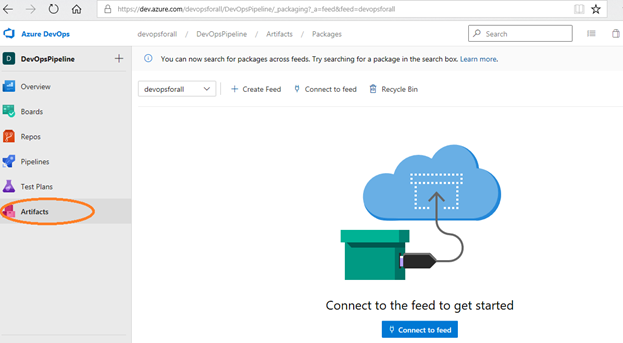
Azure Artifacts -> This feature allows storing feeds for application packages created through Maven, NuGet, etc.
Hope this quick overview has been insightful. Check out for more chapters on examples while working with Azure Projects.
Links: