In our Chapter 2, we discussed steps on how to administer Jenkins (click here to read it again) and in this chapter – we will focus on creating jobs through “Jenkins Pipeline“.
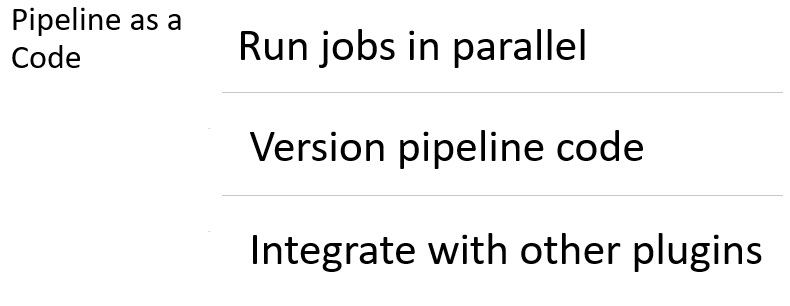
So, what is this Jenkins Pipeline – ever used it ? It is actually a group of jobs interlinked with each other in a sequence, thus implementing and continuously delivering applications/products (key phases include build, deploy, test and release). And this led to the concept of “Pipeline as a Code“.
Lets first understand the basic concepts associated with a “Pipeline”-
- Pipeline: user defined block that contains all the stages
- Node: a machine that executes a complete flow
- Agent: instructs Jenkins to allocate an executor for the builds
- Stage: contains series of steps
- Step: single task that executes a specific process at a defined time
To build such a pipeline, a “Jenkinsfile” is created and stored in a source code repository. It enables developers to access, edit and check code at all times. A Jenkinsfile is written in two ways:
Declarative Pipeline: leverages Groovy scripting, the file is stored in SCM tool and the code is defined within a pipeline block.
Scripted Pipeline: this file is written in Jenkins UI instance and is written in a traditional way within a node block.
Now lets look into how to install this pipeline feature in Jenkins-
Step 1 -> Login into Jenkins
Step 2 -> Click on ‘Manage Jenkins’

Step 3 -> Search for the ‘Pipeline’ option and install the plugin

Wasn’t that easy!! I am sure most of us are using this feature and have found it useful.
Watch out for the next chapter on how to create a simple pipeline!!


